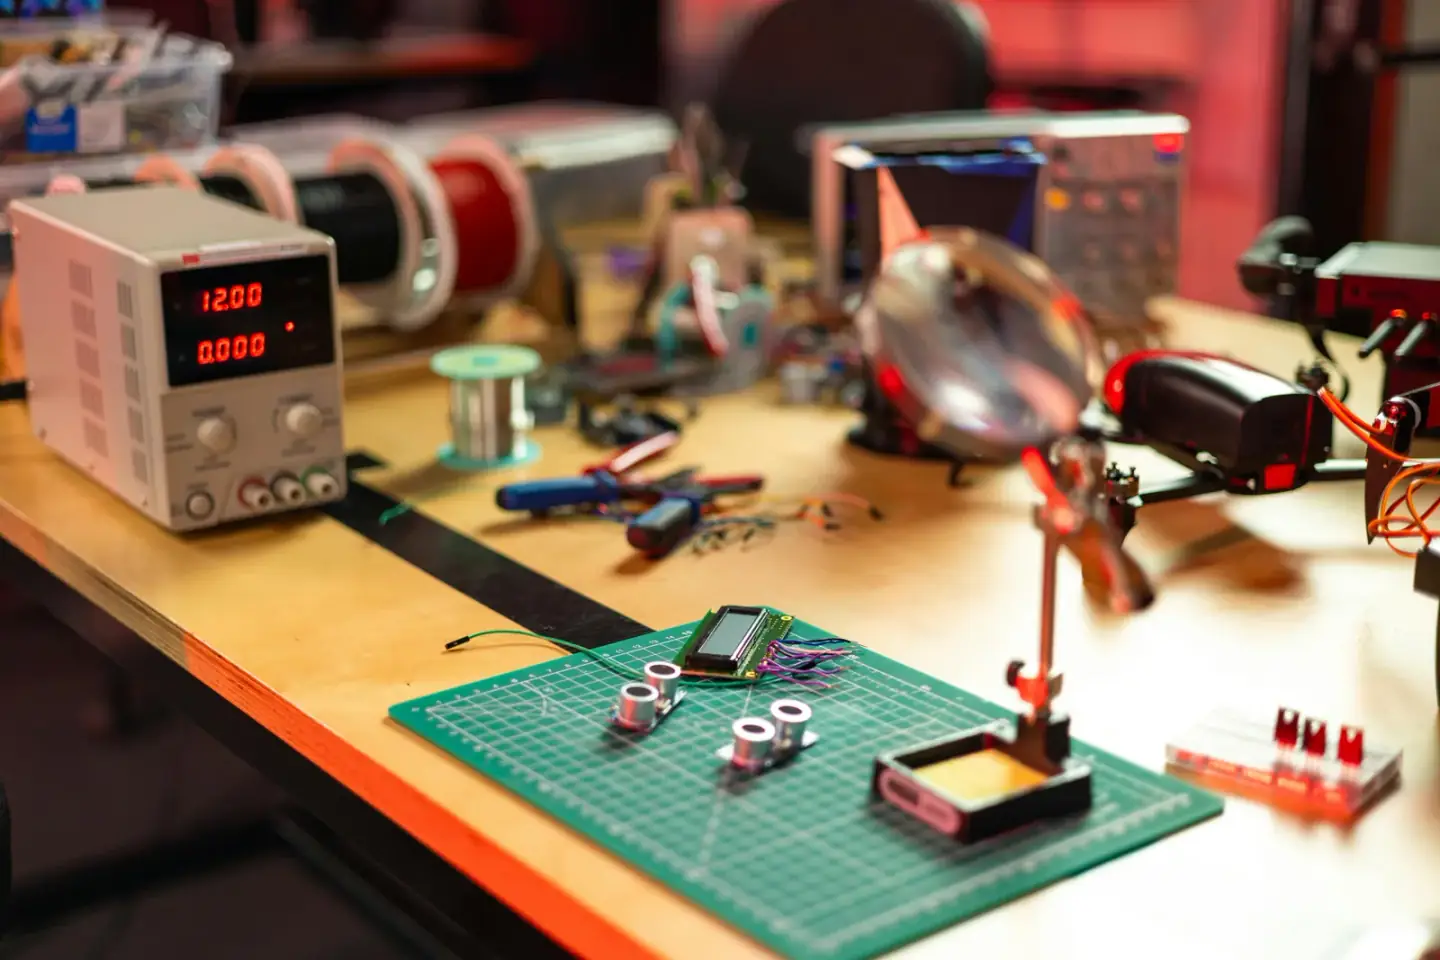
Give resistors, capacitors, connectors, modules, and sensors a labelled home without hiding the parts you reach for most. Start with a compact ready-made setup, then change the layout as your component stock grows.
Reviewed by the Graphite Modular product team · Updated 14 August 2026
The practical starting point
Keep working stock shallow and visible
A 5×4 6U box is a useful starting point for small components and bench consumables. Use several labelled compartments instead of one deep mixed bin, then store bulk refills and seldom-used parts separately.
The goal is not to create the largest parts library. It is to make the right component easy to identify, remove, and return during a real build or repair.
Organise around the bench workflow: common components close at hand, protected sensitive parts clearly marked, and project parts kept separate from general stock.
A component layout you can maintain
Component group
Storage approach
Useful label detail
Resistors and capacitors
Labelled bags or small compartments by value range
Value, tolerance, voltage or power rating
Connectors and headers
Medium compartments by family and pitch
Connector family, pitch, pin count
Modules and sensors
Individual bags in medium compartments
Part number, interface, operating voltage
LEDs and semiconductors
Protected labelled bags, separated by type
Part number, package, colour or rating
Project parts
One temporary compartment for the active build
Project name and revision
Set up the box in four steps
Step 1
Separate sensitive and general stock
Identify parts that need ESD-safe handling first. Keep those parts in suitable protective packaging even when the bags are organised inside a larger compartment.
Step 2
Group by how you search
Use broad families such as resistors, capacitors, connectors, sensors, modules, fasteners, and cable accessories. Split into values or part numbers only where that saves real retrieval time.
Step 3
Keep labels visible
Avoid filling a deep compartment with loose, unlabelled parts. Use labelled bags for small components and keep the label facing upward.
Step 4
Reserve a project compartment
Keep one compartment free for the parts used in the current build. Return unused parts to their labelled stock position when the project ends.
Shop this setup
Compact 5×4 6U electronics setup
The live catalogue products below create a compact enclosed setup: one 6U storage box and one electronics-specific insert layout.
A Gridfinity-compatible 5×4 6U storage box with one-hand latch, lid stop, vertical drawer storage, and stack-and-latch expandability — built for workshop organisation.
You can review quantities, delivery, VAT, and available product options before checkout.
Important handling note
Storage organisation is not ESD protection
Standard PETG storage should not be treated as an ESD-safe enclosure. Keep electrostatic-sensitive devices in suitable shielding bags or verified protective packaging and follow the component manufacturer’s handling guidance.
Electronic component storage questions
What Gridfinity height is best for electronic components?+
A 6U layout is a useful starting point for resistors, capacitors, connectors, sensors, and small modules because the contents remain visible. Choose 9U or 12U for taller modules, cables, boxed parts, or bulk stock.
Are standard Gridfinity bins ESD-safe?+
Do not assume that a standard plastic bin provides electrostatic discharge protection. Keep ESD-sensitive components in suitable shielding bags or verified ESD-safe packaging unless the storage product is specifically rated for that purpose.
Should I sort components by value or by project?+
Sort reusable stock by component family and value, then use one temporary compartment for parts allocated to the active project. This keeps the main inventory consistent without slowing down a build.
What information should go on the label?+
Use the component type, value or part number, package, and any important rating. For example: “Resistor · 10 kΩ · 0.25 W” or “Regulator · LM7805 · TO-220”.
Build a maintainable parts library
Start compact, label clearly, then expand around real projects.
Choose an electronics insert for an enclosed setup, or calculate a loose drawer layout when you want a larger component library at the bench.